Ribbon

The baby looked like this:

And so the counter looked like this:

I wanted to make a ribbon flower to accessorize the green baby aviatrix hat – my thinking was that I could make a flower, put a buttonhole in it, and then the yellow button for the strap could be the flower center. I liked this tutorial, and bought a woodburning tool on Amazon for $11 to cut and heat seal the ribbons. It took me several days to work up the gumption to use the tool and make the cuts. The whole thing seemed sort of … flammable. But in the end it was an easy five minute project, even if the ribbon fringe on the tool occasionally smoked a bit. The cuts turned out so nicely! I used a dime as a cutting guide for the larger ribbon and a washer for the smaller ribbon. Great new hobby?

Unfortunately, the buttonhole idea was a non-starter. I tried it two ways – once on the sewing machine, and once by just searing it with the woodburning tool, and both times it was gappy and ruined the shape of the flower. So then I tried just sewing the strap onto the hat, and adding the flower and button as accessories.

Better, but the flower is too low to look proportional, so I’m going to have to move it up an inch and a half, or maybe make a different, knit flower instead.

As is, it isn’t quite there yet. Colors are great, but execution is lacking. Luckily, the hat is still too big, so I have a while to mull. We’re almost to pumpkin hat season, then this and the turquoise flower hat can share time in December unless I knit something more seasonal?

Baby quilt

I finally finished hemming all of the binding on C_____’s baby quilt!

Here’s the top, finally complete.

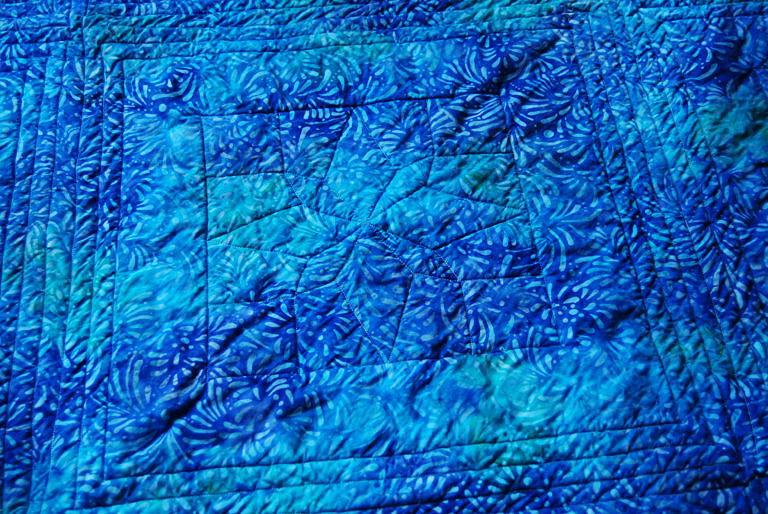
And the backing, with a little bit of sunlight to catch the quilting.

I knew I wanted to use the close together (3/4″) quilting on the white sashing, but I was stymied by the squares. I wanted something complimentary, geometric instead of random, and not a million ends to sew in. I started searching for stained glass windows, and found a pattern that I simplified to this. I like it but don’t love it – it competes with the random squares pattern and doesn’t really do it any favors. It will do, but it isn’t magical to me the way the quilted circles on H_____’s quilt were.

I love the colors. I really wanted to do something with solid fabrics, since I haven’t before and there are so many quilters online with great blogs and lots of solid-fabric quilts. I ordered a charm pack of Robert Kaufman’s Kona Cotton in Bright Colors, then four more after realizing that one square used a full pack after I’d removed most of the khakis and some of the aquas. It might not have been the very most efficient use of fabric, but it worked well for me for this project, and I love the color mix.

I improvised the pattern. First, I drew four different kinds of base squares.

Then I sewed these four base squares into a combination square. And then four combination squares, each with a different orientation, made a large square. There are five large squares in the quilt, turned on point, with white sashing between. I chopped off the edges of the outer squares to make the corners of the quilt, and reused four of the eight resulting triangles to fill in the middle of the edges.

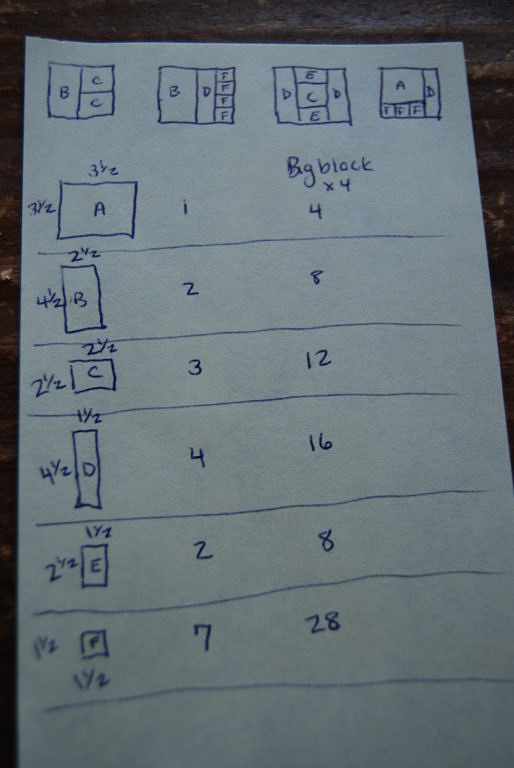
This was my math for how many of each size/shape of pieces I would need.

And this was my cutting guide to get the right pieces out of my charm squares. I washed the charm squares (there seem to be differing opinions about this, but I didn’t want my top to shrink in all different directions after it was all sewn together), divided them into color families so that the distribution of shapes would be roughly even across colors, and then cut into lovely neat piles.

It’s very exciting to me that this is finally done and ready to be used. It’s been in the background getting a few inches of attention at a time for the last eight weeks, and now not only do we get to start using it, but it’s no longer on my backlog. It’s kind of nice that it won’t be taunting me from the corner of photos anymore, like it was in these.

Actual sewing evidence.

Perhaps it would have gone faster if I wasn’t always working on it while ALSO doing something else, like taking photos and holding a sleeping baby. 🙂

I hope she loves it to a ragged and threadbare end many years from now.

One last “so big” photo – the quilt is 37″ square, and she’ll be nine weeks old tomorrow.