Month: June 2011
Attaching the return loop
Instead of using lots of blowers in this tank, (we have 5 or so in our existing tank) we’re relying on the standard water flow through the refugium and filters plus a single powerful blower mounted in the back corner. To augment this, we’ll also have a closed loop – water gets pulled out of the main tank to a pump in the garage that blasts it back into the main tank through a pipe that runs around the top edge of the tank. Kevin assembled it earlier today and was holding it on with clamps. The original plan was to epoxy it directly to the tank, but given that we may need to replace it at some point (if it’s too loud, not enough flow, etc) a temporary solution seemed better.

In our current tank, we drilled into the plastic around the top and used zip ties to attach the return loop. However, this tank doesn’t have the same lip, so that solution won’t work, and the zip ties are also sharp where you cut them . Lots of scratches. Instead, I suggested yarn for the meantime. I made a dozen or so little yarn loops and put them in place, and then Kevin went around with wooden skewers and glue and secured them in place.

Not bad.

Protected: Broken
Protected: Honest
Protected: Youse
RIP, Microwave 1984-2011
The microwave emitted a loud pop on Tuesday night and then ceased to function. Can’t imagine why (the thing’s only 27 years old).

I read when I was pregnant that the seal on the door is the first thing to go, and the unsafe radius is within 5 feet, so since then we’ve all duly tromped out of the kitchen while the thing heats. This microwave was definitely pre-rotating trays, and we had to nuke everything for 3-5 times the normal time…

We used the oven only once (during a brown dinner, accidentally) and it smoked and put out a terrible electrical smell.

We’ve been teetering on the edge of replacing it for years, but since it’s built into the wall, it felt like the removal of the microwave meant the beginning of the kitchen remodel, and we’re still saving up money and patience. This seemed like a pretty clear sign. Kevin was thinking that we could keep the microwave + oven in place, and buy a counter top model for the time being. I mulled that for two days, then decided my thinking was that we could remove the entire unit, get appliance removable people to haul it away, and find or build a temporary shelf to hold our new microwave until we get closer to looking at the kitchen in earnest.

Done, done, and done – now we just need to find and buy a new microwave. I’m particularly proud of us for getting people to remove it the same day we took it out of the wall instead of doing our typical excessively cheap/DIY pattern of storing it in the garage for months until the next community trash day, and then self-hauling to the dump in my car. Instead, we paid them $77 and they picked it up 6 hours after we called, and carefully removed it from where we’d left it in the middle of the kitchen floor. Yay.

I know it leaves a huge hole that we’ll have to fill (not that the trash compactor removal 3.5 years ago didn’t), but it looks SO great without it, and I’m so excited not to have to think and wonder about it anymore. We’ve been having fun with the adjectives all day – you just don’t want a retro/vintage/antique microwave. Farewell, you relic.
Special delivery
Kevin with the (maybe) last two pieces of fishtank plumbing, which arrived a day late but still before the end of his vacation.
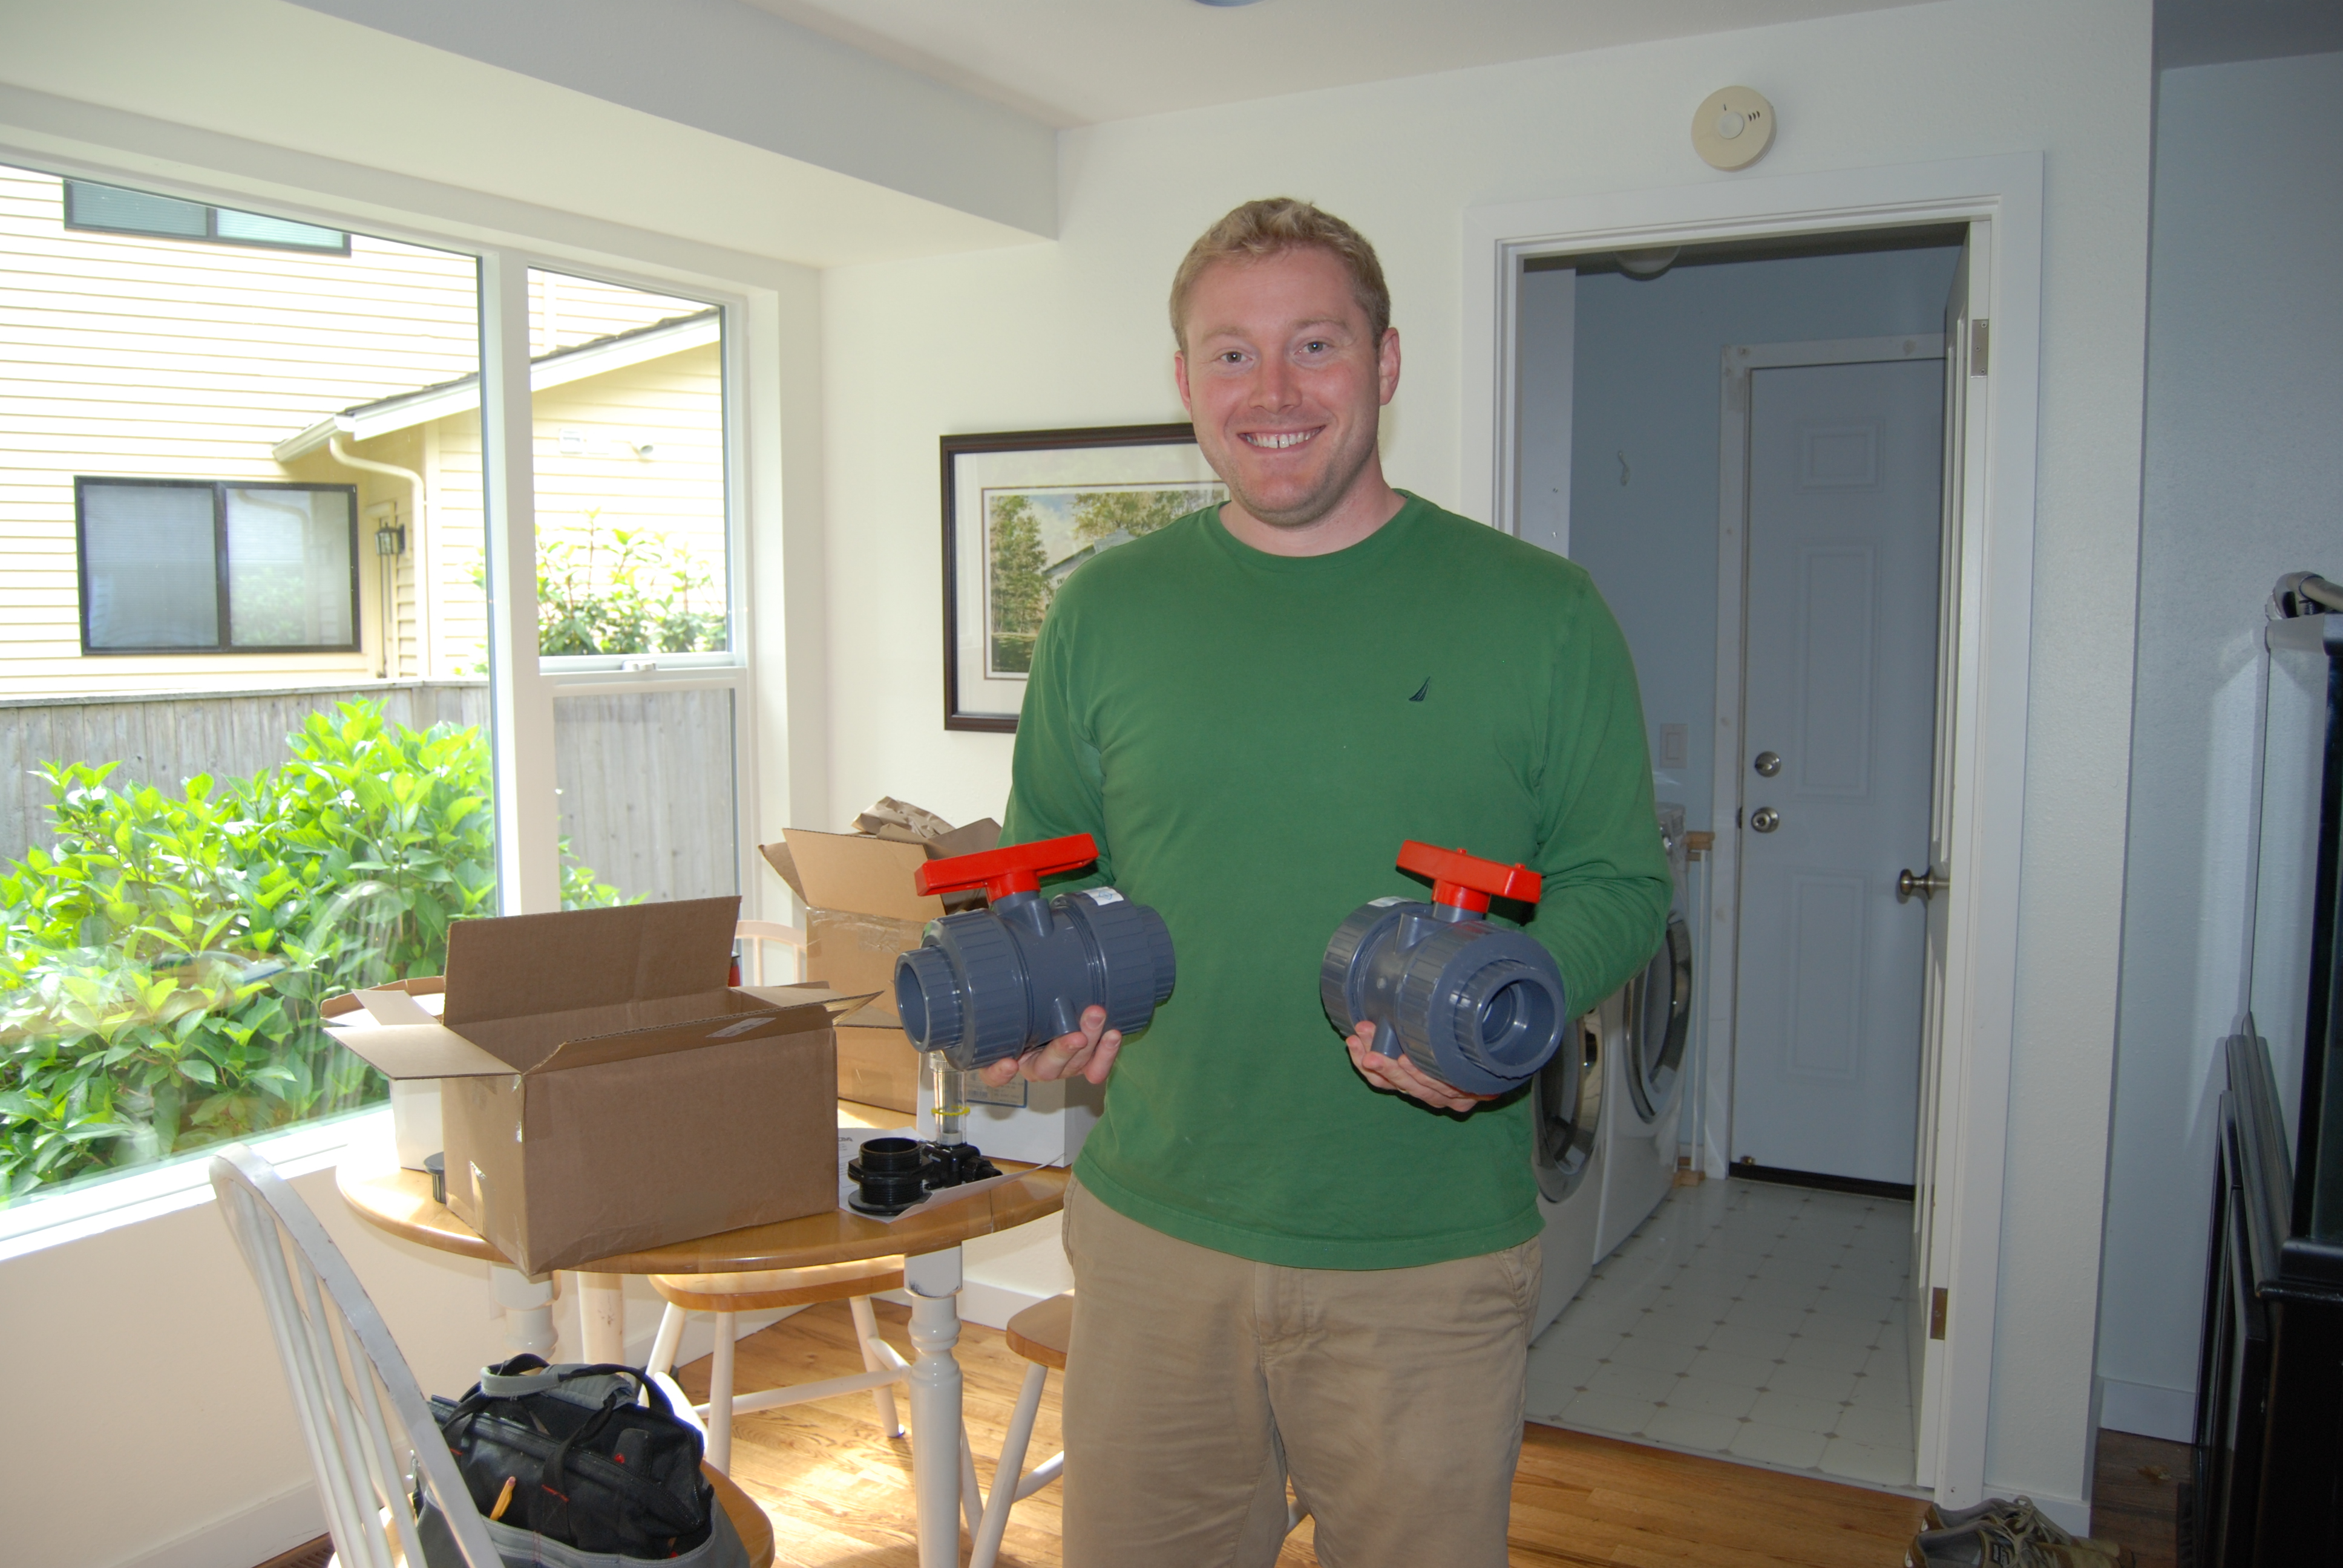
Not small things, are they?
Protected: Dentist
Return loop
Kevin has the return loop (which will go along the top lip of the aquarium to add extra water flow) all assembled.

He spray painted the top edge black to make it less visible – it looks great! The paint is reef safe. We’ll either leave each of the outlets open or attach directional pieces to them to direct the water flow within the tank. The goal is a strong counter-clockwise current.
