A bit more coordinated

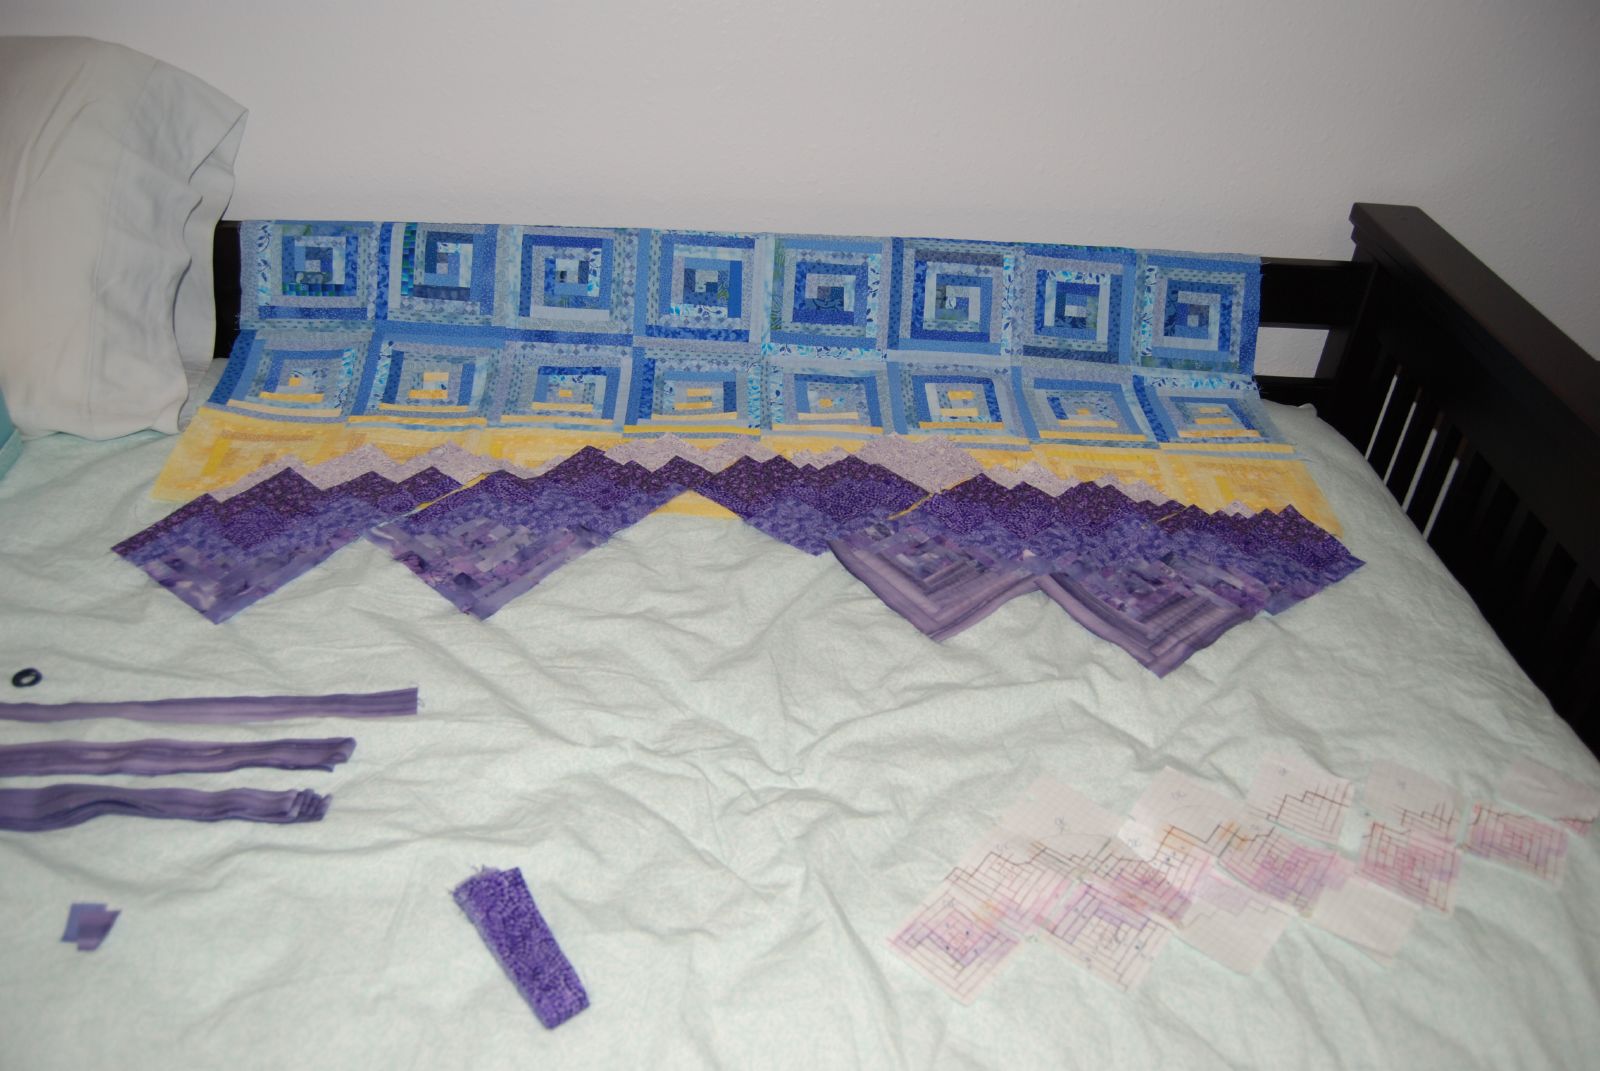
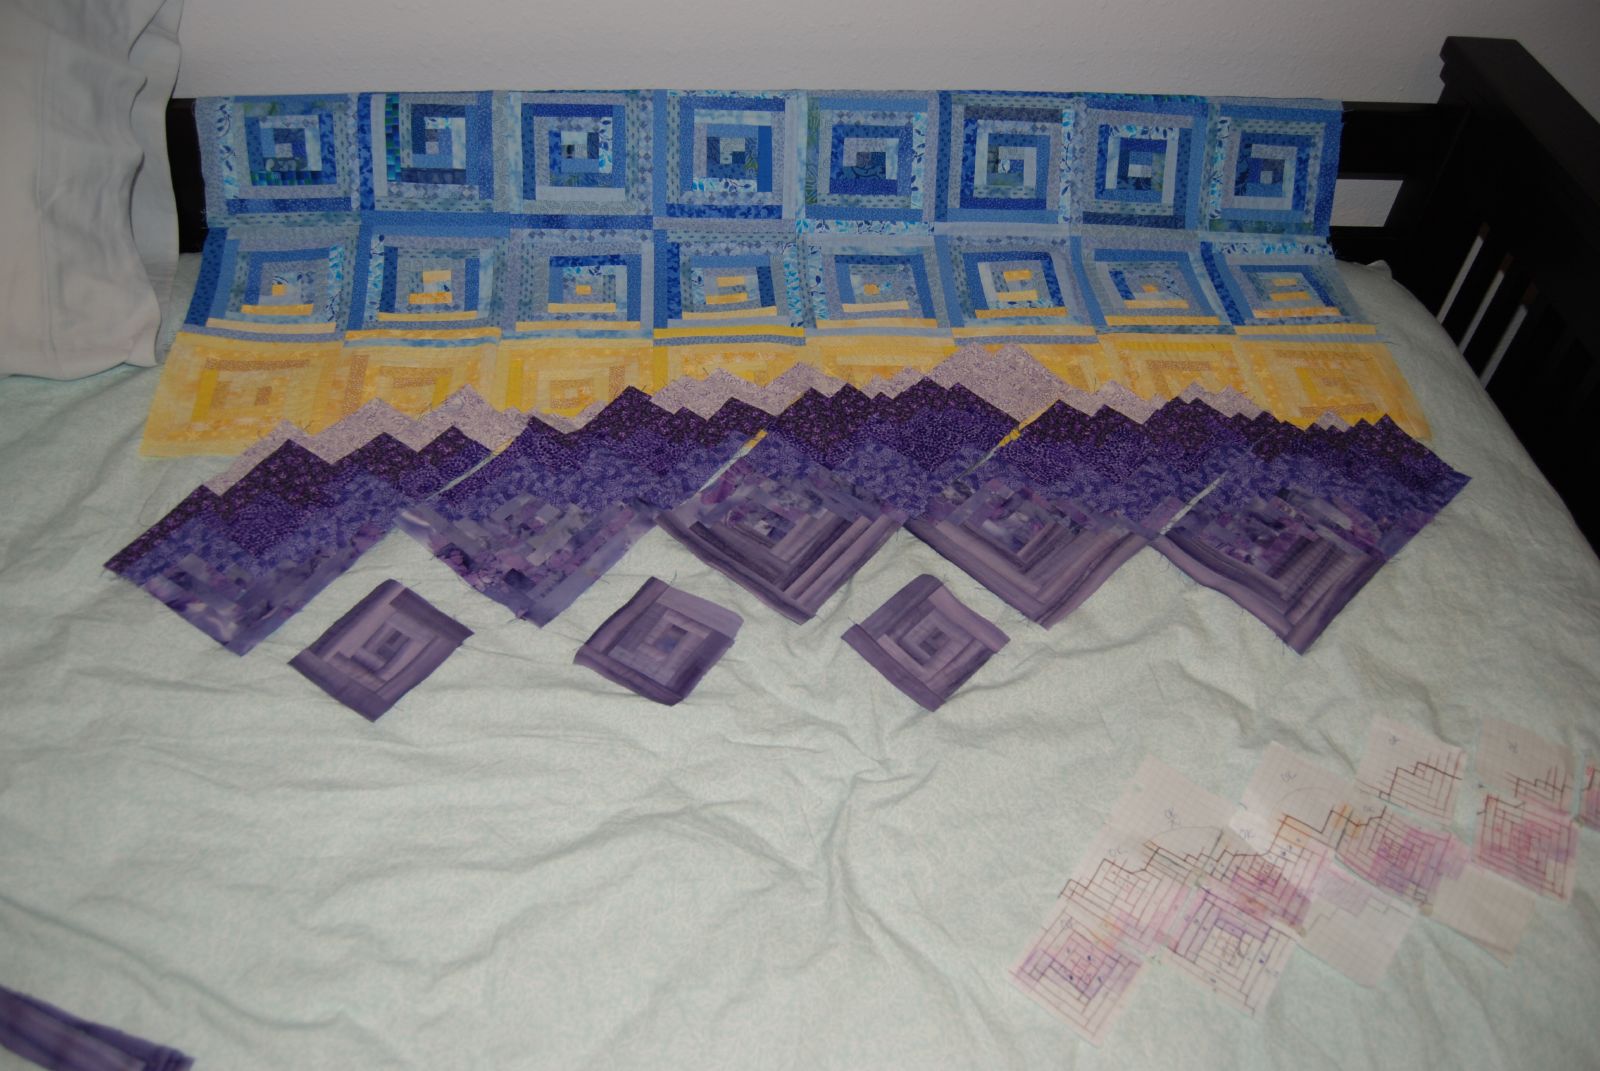
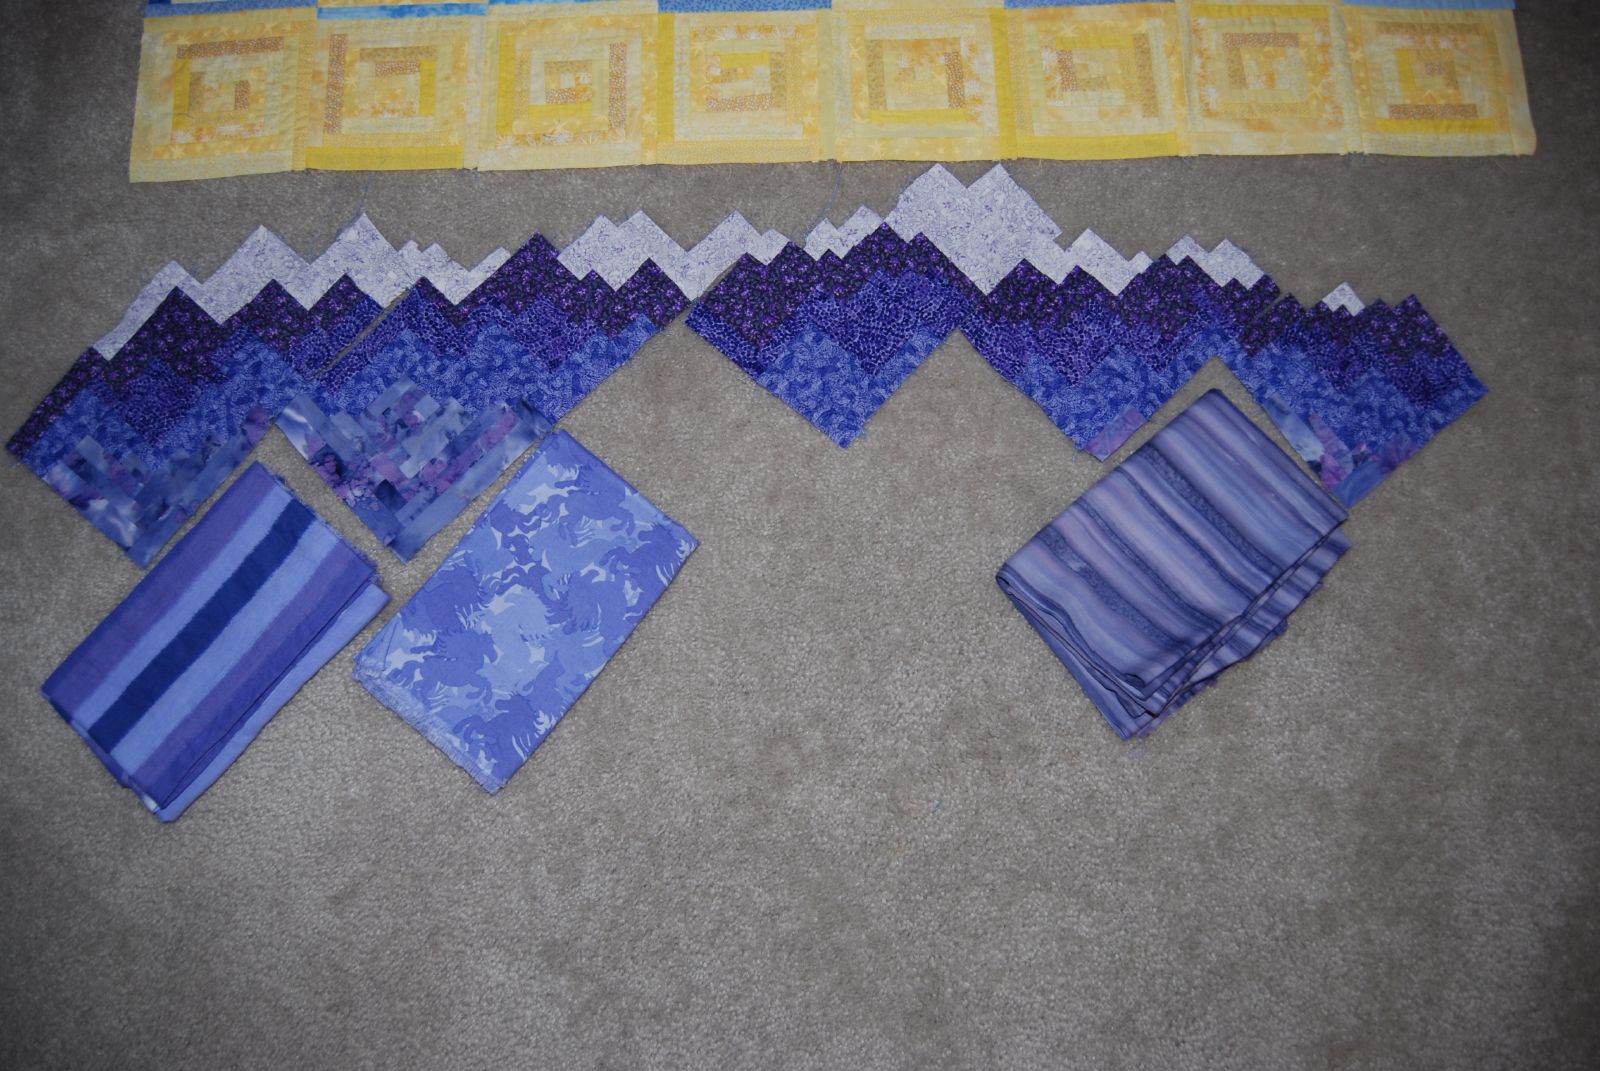
Since I finished my Olympic Mountain comforter a year and a half ago, I’ve been meaning to use the extra fabric left over from the trim to make a matching bed skirt. For a while we had a ruffled white lace thing, but it did not look nice with the dark quilt and wood bed, so we’ve just had a bare box spring. Not the most attractive option.

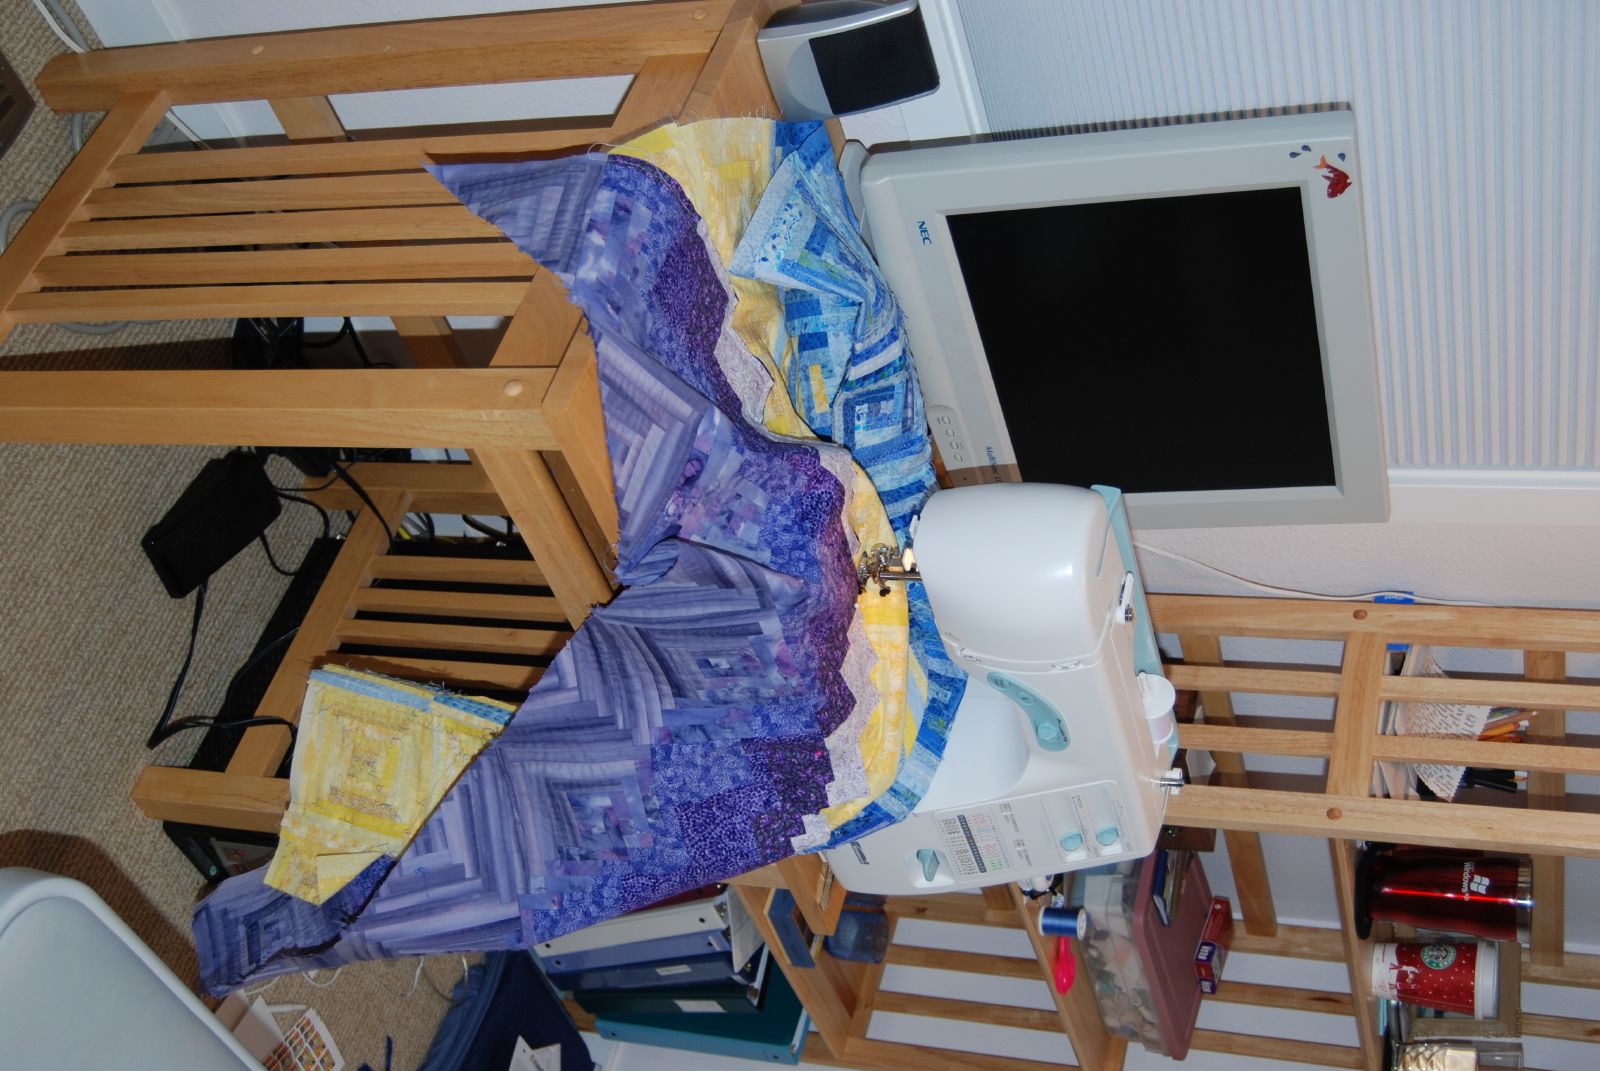
The sewing for the bed skirt was not hard (straight seams, cotton fabric), but there have been a slew of delays. First I didn’t actually have enough of my patterned fabric (amazingly, three years later Joann’s still had it in stock!), then I was dragging my feet on measuring and cutting the pieces. On the whole, I’m good at designing things to fit a space or an object, but when the measurement is larger than my arm-span, I always seem to get a bit off. Luckily, a bedskirt does not demand the same precision of measurement that trim does (and this one doesn’t even require perfectly parallel lines, since the skirt bottom is going to be tucked behind the base of our bed frame), so once I finally got started last week the project moved pretty quickly. The biggest issue was actually just that I’m getting ponderous enough that doing all of the measuring out, pinning, etc. on the floor was harder than it would have been normally. I made three long panels (one each for the two sides of the boxspring, and one for the base), and four squares to wrap the corners. I still have my bed sheets from college, though the twin extra long isn’t a useful size, so I used one flat sheet for lining the panels and the other for the piece that lies between the box spring and the mattress.

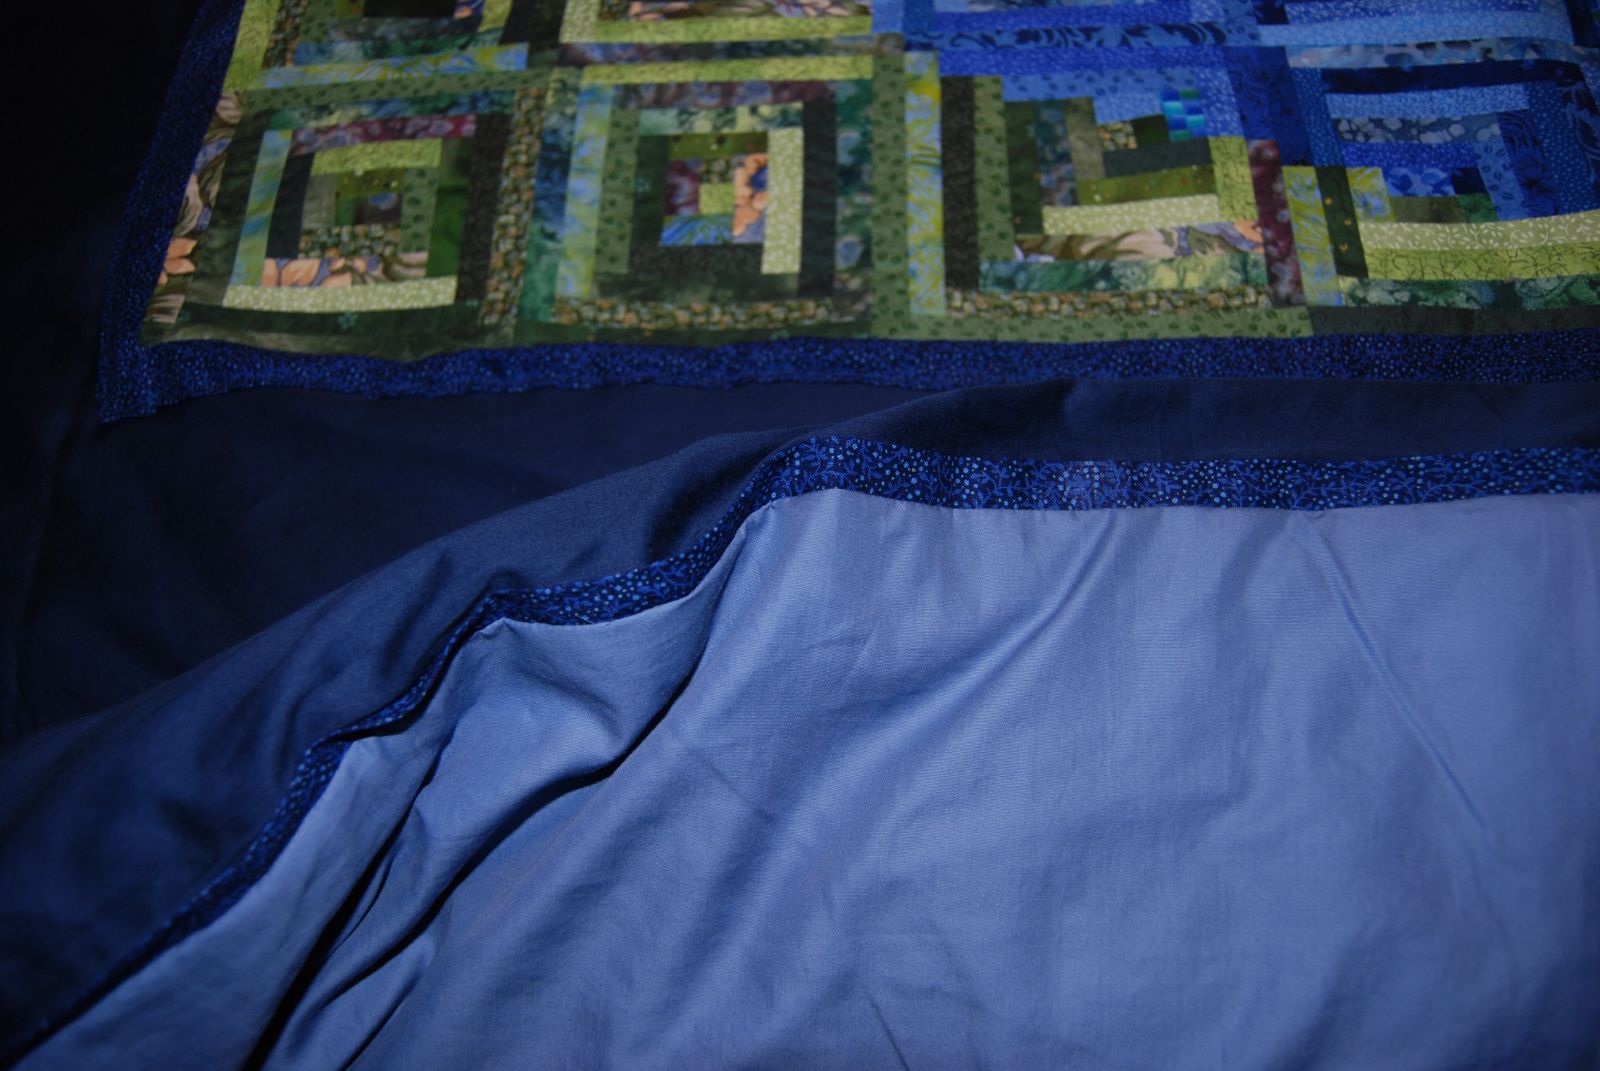
Here’s the empty box spring after we’d removed the mattress and bedding:

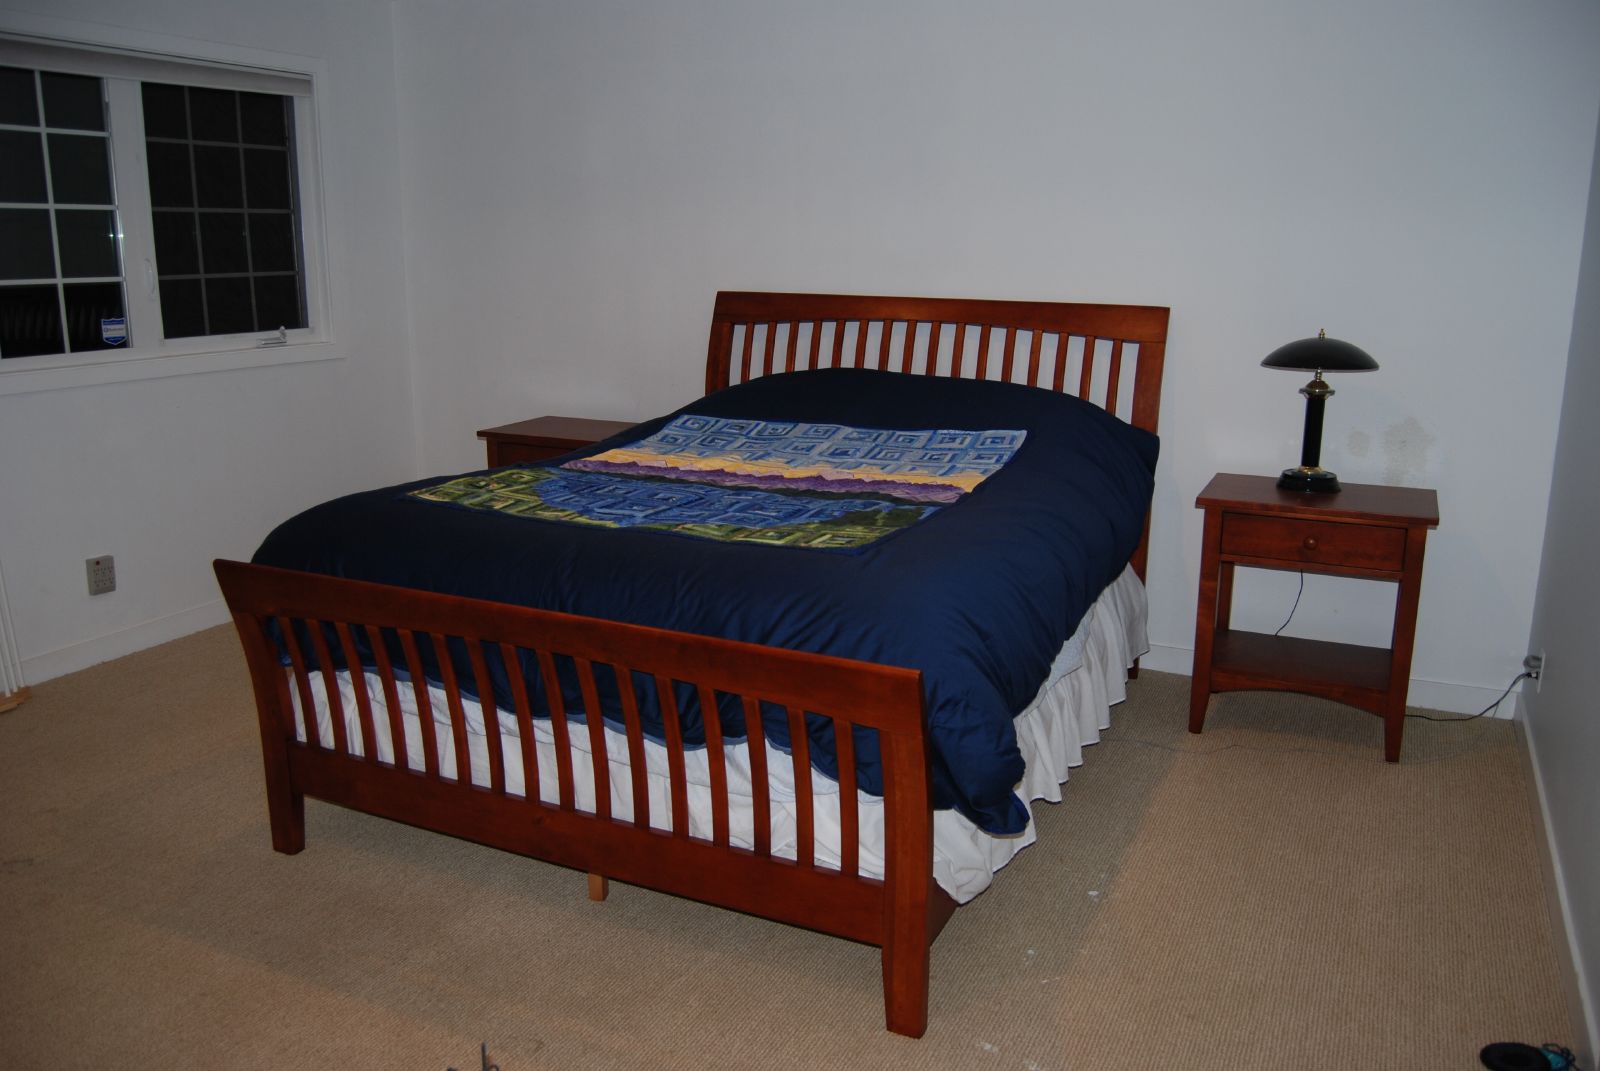
And here it is with the new bedskirt in place:

And the made-up bed in the morning:

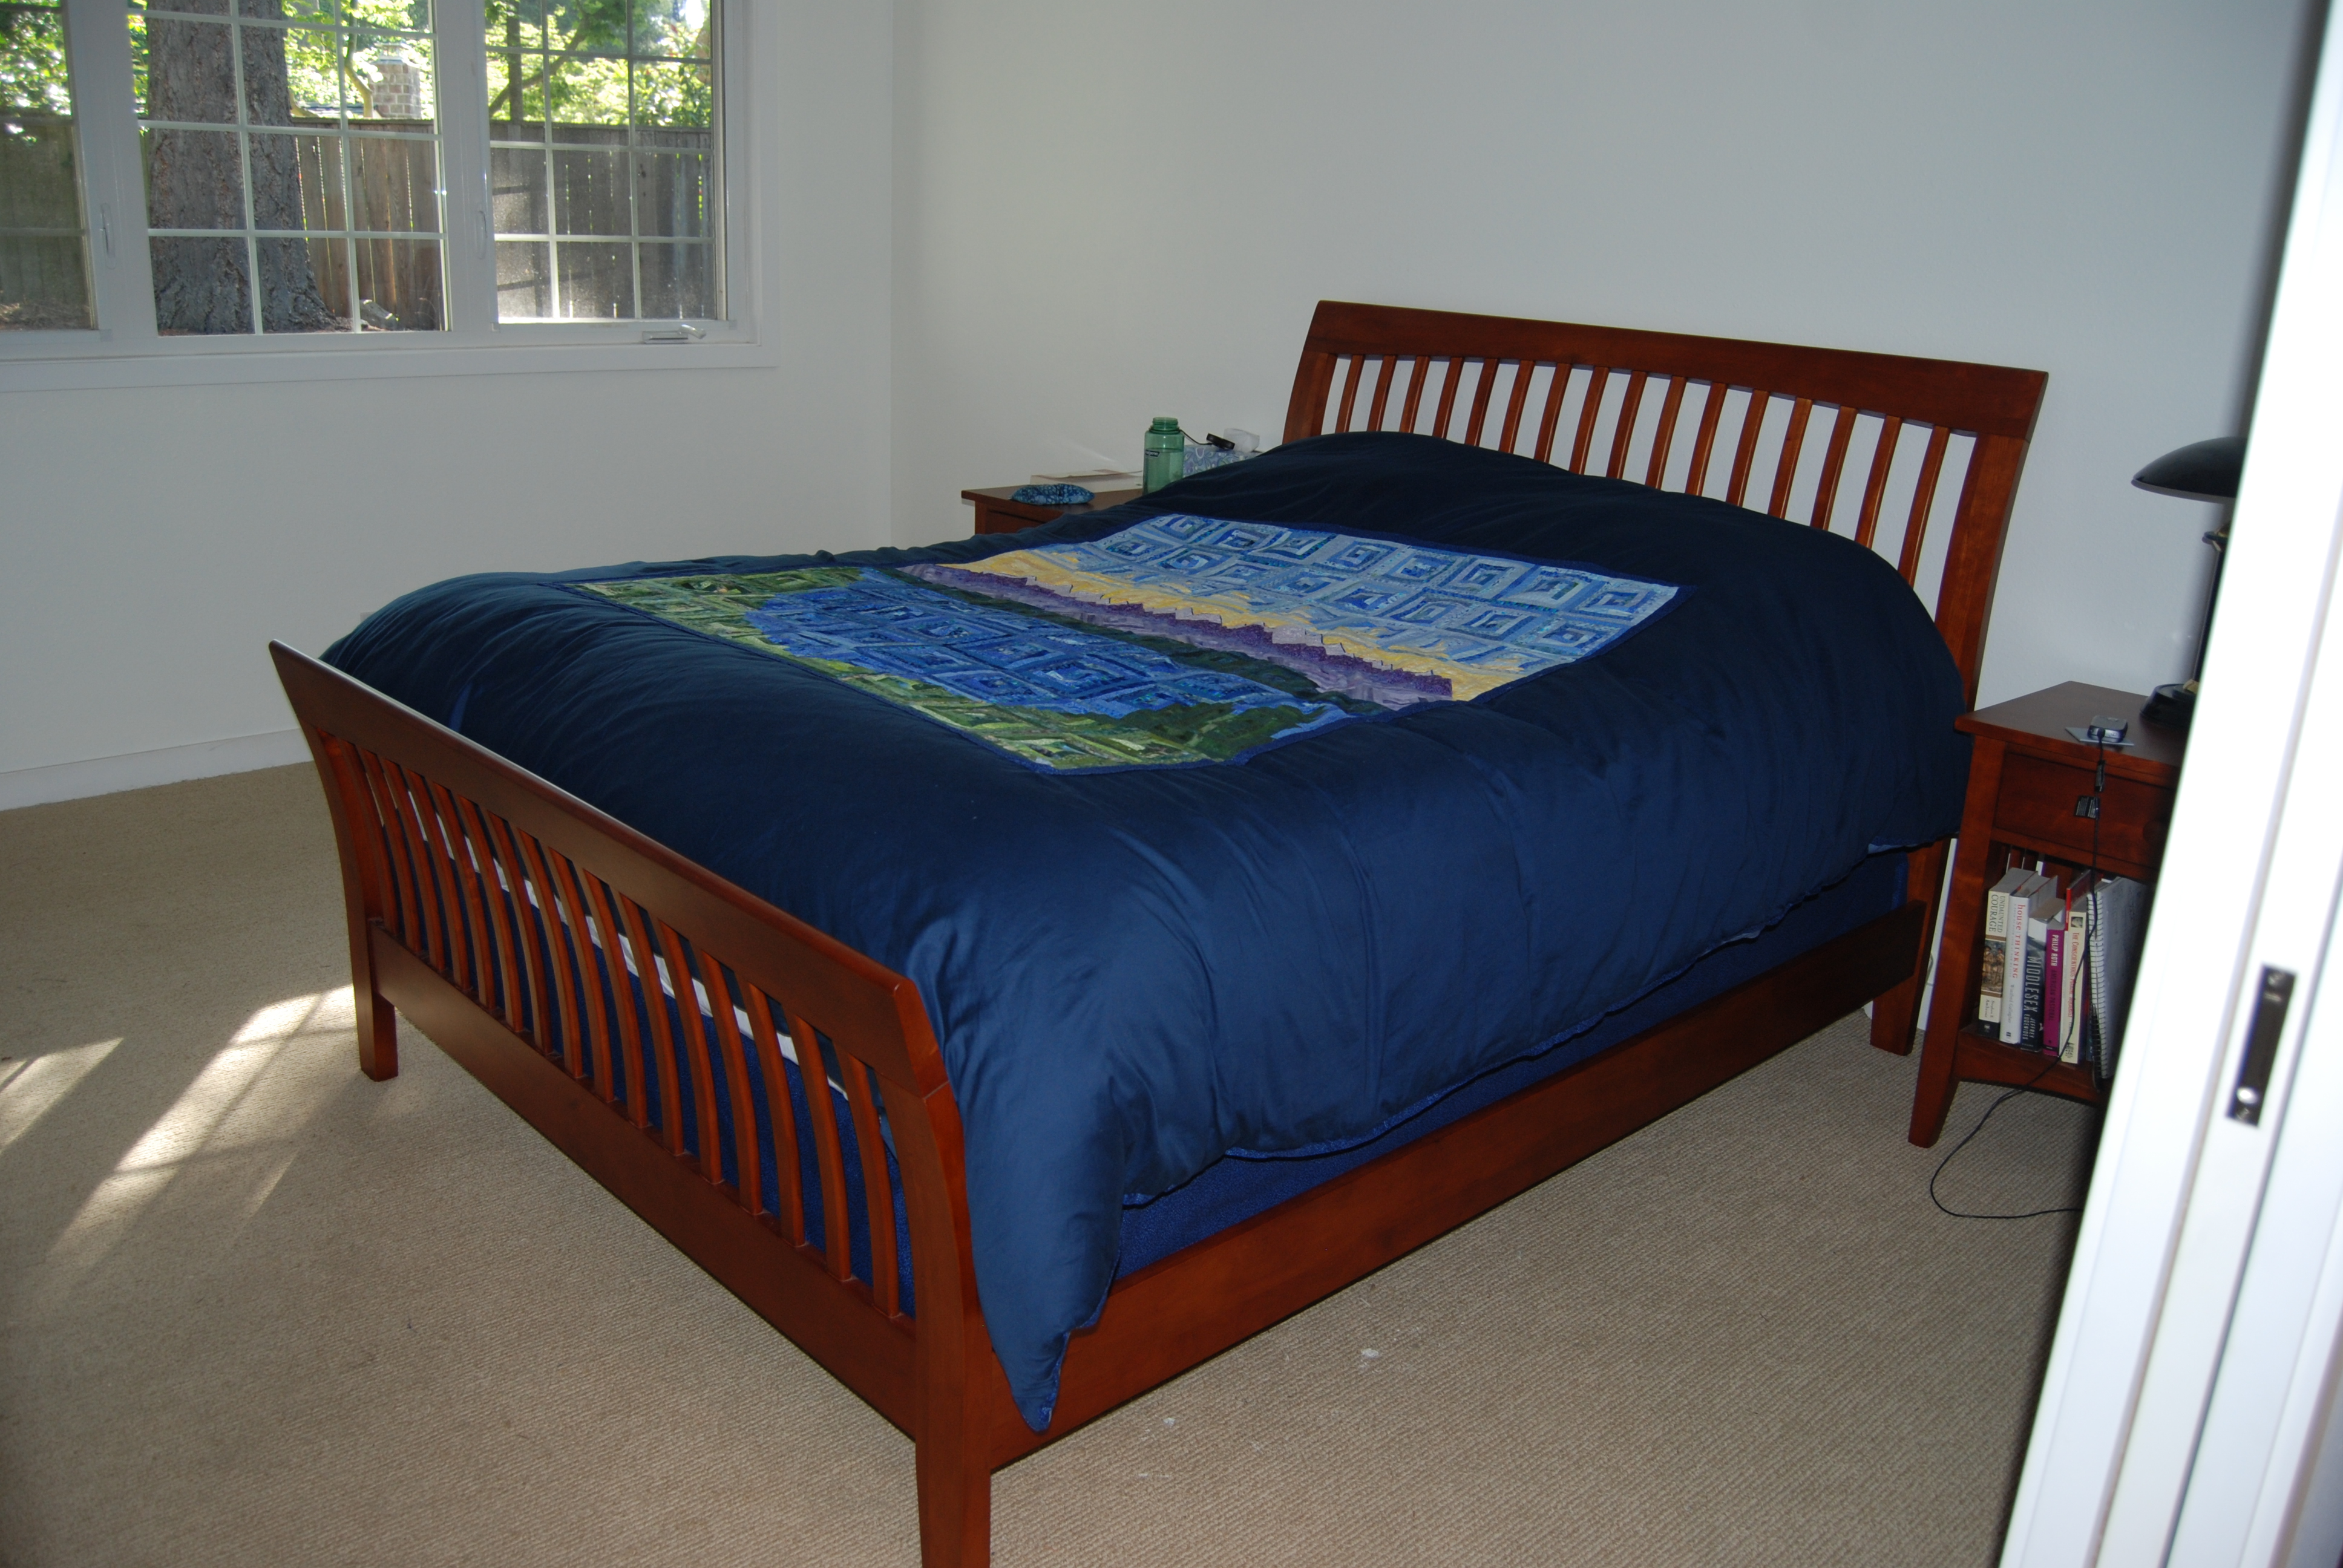
It looks so much more polished, and it’s a great long-term item to finally have off the list.

Two and a half years later

The quilt is finally sewed onto its backing, and I’ve sewed my sheets together to make the comforter cover! Here it is, finished and on the bed!

Once all of the piecing was finished, I added a border, and then sewed that onto a dark blue queen size sheet. Then, I cut and pressed more of the border fabric to make an edging for the sheet, and cut a second sheet for the back to make overlapping pocket to slide the comforter into. Kevin’s family arrived when I was halfway through sewing the front and back sheets and the border strip together. I finally finished the next morning while everyone was showering.

Here’s the view from the door. Like our new bed? A wedding present from Kevin’s parents – so pretty. And the side tables are such a step up from our old $15 dorm room Target cube “furniture”. 🙂 Yay!

I also love the back, since I’m pleased with the overlapping slip that I made for inserting the comforter into my cover.

In my opinion, a pretty use of existing sheet seams. 🙂

Several people have pointed out that this isn’t really a quilt, since quilting is actually the process of sewing a front face to a back face, through batting. Technically, what I’ve done is only piecing, even if it was complex. That’s true, but it’s close enough for me that I’ll continue to think of it as my first quilt.

For the full blog history, check out the early quilt and quilt categories of posts. It’s fun to see how well it all came together.

Now I’m having a bit of project letdown – after all, this has been two and a half years in the making and I’m finding that I miss having it as an option to work on. Luckily, there’s a very easy solution. I think that the daybed in my room needs something to cover it. 🙂

I’m thinking of browns and pinks, to make the contrast between the bed frame and the rest of the room a little bit less severe. No landscapes this time – just straight squares of some sort. The easy default is another log cabin (though I think I’d use wider strips for this one), but I’m browsing around on the web and completely open to suggestions. Any ideas?

Progress

Tonight was the most complicated portion of the sewing: binding the mountains to the sky with a differentiator strip of blue between.

The mountains and the sky are 45 degrees off of each others’ axis, so it took a little bit of effort to make everything look the way it seemed that it should. I pinned the sky on top of the mountains, and then sewed left to right, adding the blue strips along the way. This picture should give you a good sense of the scale of the project (look at the needle).

Once that was done, I sewed the hills (and attached lakes and trees) on over the mountain base.

SO CLOSE!

Meanwhile, Kevin’s been drywalling like a madman, and has made it through the third coat of joint compound. It looks amazing.

It’s been becoming increasingly clear that we won’t make it through priming, let along painting, before his family arrives tomorrow but the room is at least cleared out of all construction scraps and relatively clean. (Some awesome guy saw our Craigslist ad and bought (aka carted away) the leftover pieces and paid us $25. We were pretty psyched. And, all of the tools in the foreground have been moved to shelves in the garage – a pretty major improvement.)

Too close for comfort

I am so, so close on the quilt, but this last part looks to be the most difficult. The white snow caps of the mountains don’t contrast well against the yellow horizon of the sky, so I’m inserting a small dark blue band between them. I’ve taken a bunch of inch wide strips and ironed a seam into them so that the new strips can just appear between the white and yellow. I pinned them together (and repinned, and repinned – it’s hard to get the 45 degrees off grids to match up correctly). Here’s the preliminary view.

Next, I have to insert these ½ inch wide little stubs for contrast, while sewing the two big parts together. Very fidgety, and not a little intimidating.

Peer Pressure

I’ve been really impressed with our neighbours so far. They seem to religiously clean the storm drains, brought some really cute kids around trick-or-treating, and are pretty industrious with the yardwork on the weekends. We came home a few days ago to a package on the front porch – someone started a holiday gift-giving chain letter. You discover a package of candy on your doorstep, with a sign that says “Ho Ho” and instructions to make two new signs, bake or amass treats, and put them on the doorstep of someone else on the block in the interest of “cheer and goodwill”. Once you’ve participated, you put the HoHo sign on your door so that people don’t regift you. Well, one day became two and Kevin and I became more and more stressed. (Usually, the words “chain letter” have no power over me. Apparently this whole “neighbourhood” concept is a brand new beast.) Our package had a slew of chocolates meant to be melted in coffee, plus a mini-stash of Halloween candy (a foil-covered chocolate eyeball, a butterfinger, some smarties…). Our kind of people, but still.

So, Kevin went to the drugstore to buy chocolate in pretty boxes, and I hauled the old calendars out of their niche in the closet, and made these.

Chainletters or whatever, I think they’re all sorts of pretty. The calendar was a collection of paintings by Alfredo Arreguin. The pictures I chopped for the yellow page were a jungle scene, so there are plenty of monkeys, toucans, and leopards. The violet page has salmon leaping through lots of spray.

And, I finished the squares! Here’s a way-too-blue photo of the new triangles after I cut them.

I decided that I needed one more purple square, plus more yellow (luckily I have the old yellow castaways) before I’m done with what I need for the sky-mountain join.

Motivated

Kevin’s family is coming to see us for Christmas (I’m sure this isn’t the first time that I’ve mentioned this) and we are busy bees trying to get things polished for their arrival. It’s such a gift – not only do we not have to be the ones to fly and endure the jetlag (I’m not an early riser in the best of circumstances, and that west-to-east transition is always even harder when 10:00 EST on a weekend is considered “sleeping in”), but we get to show off the new house, wedding gifts, and projects. And, best of all, we actually get to host a holiday. I’m delighted. Each year out here, we’ve gotten a tree and then made the call whether it would burn the place down during our week out east. This year, it’s the real deal. So exciting.

That said, we have a project or two left to finish before they arrive. No surprise. Procrastinator heaven.

So, Kevin’s been drywalling like a champ. Here he is midway through the first round of joint compound.

Two rounds to go and then we can start priming.

And I’ve been trying to get reengaged with my quilt. I was making great, rapid progress and then we put in the offer on our house and everything ground to a halt about a week before we closed. Now that Kevin’s family is coming, the finished quilt is actually quite important. We have three twin-sized warm covers (a comforter and two quilts), which will work well for me and Kevin (on the daybed and trundle in my office), and his sister on either the blowup mattress, one of the couches, or the futon. But if we take those covers, there’s no warm cover for our queen bed unless I finish up.

No pressure.

You may remember that I’d sewn the mountain squares into diagonal strips, charted out the three final multicolor squares, and bought new fabric for the mountain base. It took a long time to reconstruct the progress two months later.

Once I was ready to sew again, I made it partway through the last three solid squares. (I’ll cut them in half and use the triangles to form a straight bottom edge.)

Mountains

As I had feared, I totally ran out of material for the mountains.
When I first bought fabric, I chose an eighth or a quarter of a yard for just about everything. For things like the sky or the yellow, where I had at least 10 fabrics, this produced copious extra strips. However, where the mountains take up about a fifth of the quilt and I only had five fabrics, it wasn’t even close. Even worse, about two thirds of the mountains should have been the base batik, but I only bought an eighth of a yard of it. By the time I realized my mistake, the print was long gone.

So, I spent an evening carefully charting out strips to maximize each color, and then I had to go shopping for more. My first find was the one in the middle – bluer than the mountains, but under the florescent lights in the store, it looked feasible. On the way to the checkout from the cutting counter, I came across the print on the left. The stripes really weren’t ideal, but it had more brown tones, which worked better with both the existing batik, and the green/teal foothills.

When I left the store and saw the prints in daylight, both seemed like imperfect matches, so I went to a (more expensive) store that tends to have great batiks. There, I found the fabric on the right. It has the full range of dark purples, but is mostly a pink/brown/mauve, which actually works very well in the dark-to-light progression of the mountains, and the foothills really pop against it.

Such a relief!

Foothills

Finally, a stage of the quilt that just zooms by! Visible at the far shore of Lake Washington are the hills of Seattle (from left/south to right/north: Capitol Hill, Queen Anne, the University district). For this section, I used the same dark greens from the pine trees, plus several new teals. The result is quite vibrant from close range, but uniform from a few feet away, which was the goal. The opposite shore should be relatively monochrome, due to the distance.

The most challenging portion of this section was that none of the “squares” are actually square. Easier shapes were just short, squat rectangles, while others had “hills” growing out of the top. I mapped out the shapes on graph paper and colored in each strip as I sewed, but it was still a bit trying to keep track of each of the different shapes as I worked. Slow!

Here are all eight squares laid out along the top of the stairs.

Finally unstuck

After about a zillion redos, I finally finished my pine trees for the quilt! It was late when I finished, but I stayed up a little longer so that I could sew the lake and land pieces together.

I think they turned out so well, and the colors are so cheerful even in the dark grey light we had this morning. I ended up keeping the trees exactly as they were, but replacing the water strips with light and medium tones, so that the dark greens didn’t bleed into dark blues. The tree/water divisions are much easier to see now then they were.

Also, I only had to change two of the squares — the upper right and lower left tree piece. It took a few attempts to make those two squares work, since it’s easy to go too far and make the water too light, which was distracting. Once the top piece was in place, the two middle squares actually looked fine as they were.

Here’s a closeup:

Once I took the photo, I realized that there’s still one fix to make: I’m going to rip out the dark blue strip in the top row at the far right, and replace it with a medium tone. Otherwise, it would be too dark to contrast properly against the dark blue-greens of the opposite shore. 🙂 But that’s a very tiny change — mostly it just feels so good to have that bottom half all stitched together at last!

PS. I’m on my last spool of thread — I’m so curious to see if it’s enough to finish.

Sorry that it’s been so long

Oh, man, I’m far behind. I got lulled by my lack of bloggable photos and didn’t post, and now all sorts of interesting things have happened: the start of (fantasy) football and the related knitting, the back deck gardening success, the baby born (and sweater, etc. revealed, finally), the quilt progress and regression…

Usually I cope with lack of posting by just putting up five posts in a night (RSS feeds be damned), but for some reason this all feels intermingled, so this will be the longest post ever. Sorry?

So first of all, I went to the Farmers’ market a week ago Saturday. My intention was to pick up flowers, peaches and veggies (all of which were accomplished with the typical farmers’ market glee), but there were a few fun additions. I ran into Pam from my knitting group at the skirt stall, fun. And then after I was done shopping, I returned to the booth and bought one! (My Christmas stocking had a bit of fun money in it, and though we’re a full ¾ of the year later, I found something great to use it on. 🙂 Nice! )

Here are the farmers market flowers with the front of Isabella. I’ve finally made it to the lace – the knitting is so, so much more interesting now. I’ve made quite a few more rows since this photo and they’ve just flown by. All of the football in the last week hasn’t hurt the progress!

The plants on the back deck have been entertaining. The tomatoes are going strong. I’ve picked five so far, and there are at least 10 more in various stages of ripening waiting in the wings. The beans keep appearing – every time I give up and expect the end, I see 7 more waiting to be picked. No complaints! Best snack ever.

The strawberries just started blooming again a few weeks ago, and the fruits are closer and closer to being ripe to pick. And, exciting to me, the poor pepper plant that got overrun by the beans, is actually making peppers regardless. How cool!! Definitely runty and late, but I’m just delighted by every sign of progress.

And finally, I’ve been working on the pine trees for the quilt. They’ve been weighing on me ( a classic case of unexecutable vision), and I finally charted and started to construct them last weekend. Here’s the result about a third of the way in…

Since then I’ve been finishing and ripping back squares without quite finishing anything. I LOVE the deep-dark pine tree colors up close, but against the lake and land business, they don’t really work. I’m struggling to come up with a reasonable solution… so far I’ve tried improving the tree/water contrast (helps, but not enough). Next up is mixing in more medium greens to go with the darks. I may have to switch to mountains and hills and then return to this – I love the squares but they just don’t fit the quilt.
I meant to write about the baby knitting as part of my catch-all post, but then realized that it would be easier to have my pattern notes separate. So, to be carried on in a later post… 🙂