Category: New Fishtank
Protected: Testing the pumps
Flashback: Tank progress: refugium vibration!
[Catching up in Fall 2012 on the missing posts from Fall 2011.]
We filled the tank a few days ago, only to find that the stand made a horrible vibrating sound when the pumps turned on. Bummer. Discouraging. So here’s our solution, tons of vibration dampening gel/foam, cut in squiggles and laid inside the stand for the refugium to rest on.

And a zoom out to show Kevin’s pretty plumbing inside the stand. Ooh.

Flashback: PVC
[Catching up in Fall 2012 on the missing posts from Fall 2011.]
I rather gleefully decided that it was my turn to try to make some progress on the PVC needed in the garage. Kevin had to walk me through all of the bits of equipment (skimmer, sump, water tanks, pumps) and I had to go back and forth from the house to the garage several times to get a handle on all of the pipes through the wall. There’s a main loop (gravity fed from the main tank through the sump and skimmer, then back into the refugium, then pumped from the refugium back up to the main tank), and a closed loop (from the main tank back into the main tank, only adds circulation, no filtering). The main loop has a valve so that we can quickly drain water from the tank for water changes. (No more lugging 5 gallon buckets and making siphons!!! I’m so excited about this part.) We’ll have a large fresh water reservoir off to the left, and two smaller salt water mixing containers for water changes – all three will pour into the sump, either gravity fed or pump fed.
So, armed with my chart, I started cutting and measuring and scheming. I moved the two pumps under the table instead of under the sink (since they aren’t supposed to be in contact with water, and the sink sometimes splashes. Should also reduce some of our sound. It will make the skimmer placement a bit easier, and it requires less run of pipe for the pumps, and fewer twists and turns so the water flow should be greater. The blue post its are where I need Kevin to drill through the counter top.

The original plan had been to use flexible tubing to get the water back up to the main tank. I think it’s going to be easier to make that rigid, though.

So fun. PVC is so satisfying.
Another tank-filling experiment
We had a contractor that the fish store recommended (he used to also run the Puget Sound Aquarium Society) come in to reinforce the floors so that we’d see less water movement when people walked by. He took care of all of the wood work, cement donuts, and pipes, and now everything feels much more stable. We also got new vibration-dampening feet for the washing machine and dryer which are amazing little things even if they were a bit of a pain to get in place. So, vibration and floors taken care of, the next big issue was the flow through the sump and refugium. With the new, reduced-flow pump in place, we tried the plumbing one more time before my mom’s visit. Pouring water into the back compartment (at left) in the main tank, and watching it filter into the front compartment through the grate.

The initial tank filling went well, but even with the lower-flow pump, the flow through the bottom tank is too slow. Major bummer. This means redoing a bunch of the plumbing, holes through the walls and stands, and ordering larger bulkheads so that we can expand those pipes from 1.5” to 2”.
Filling the tank for the first time
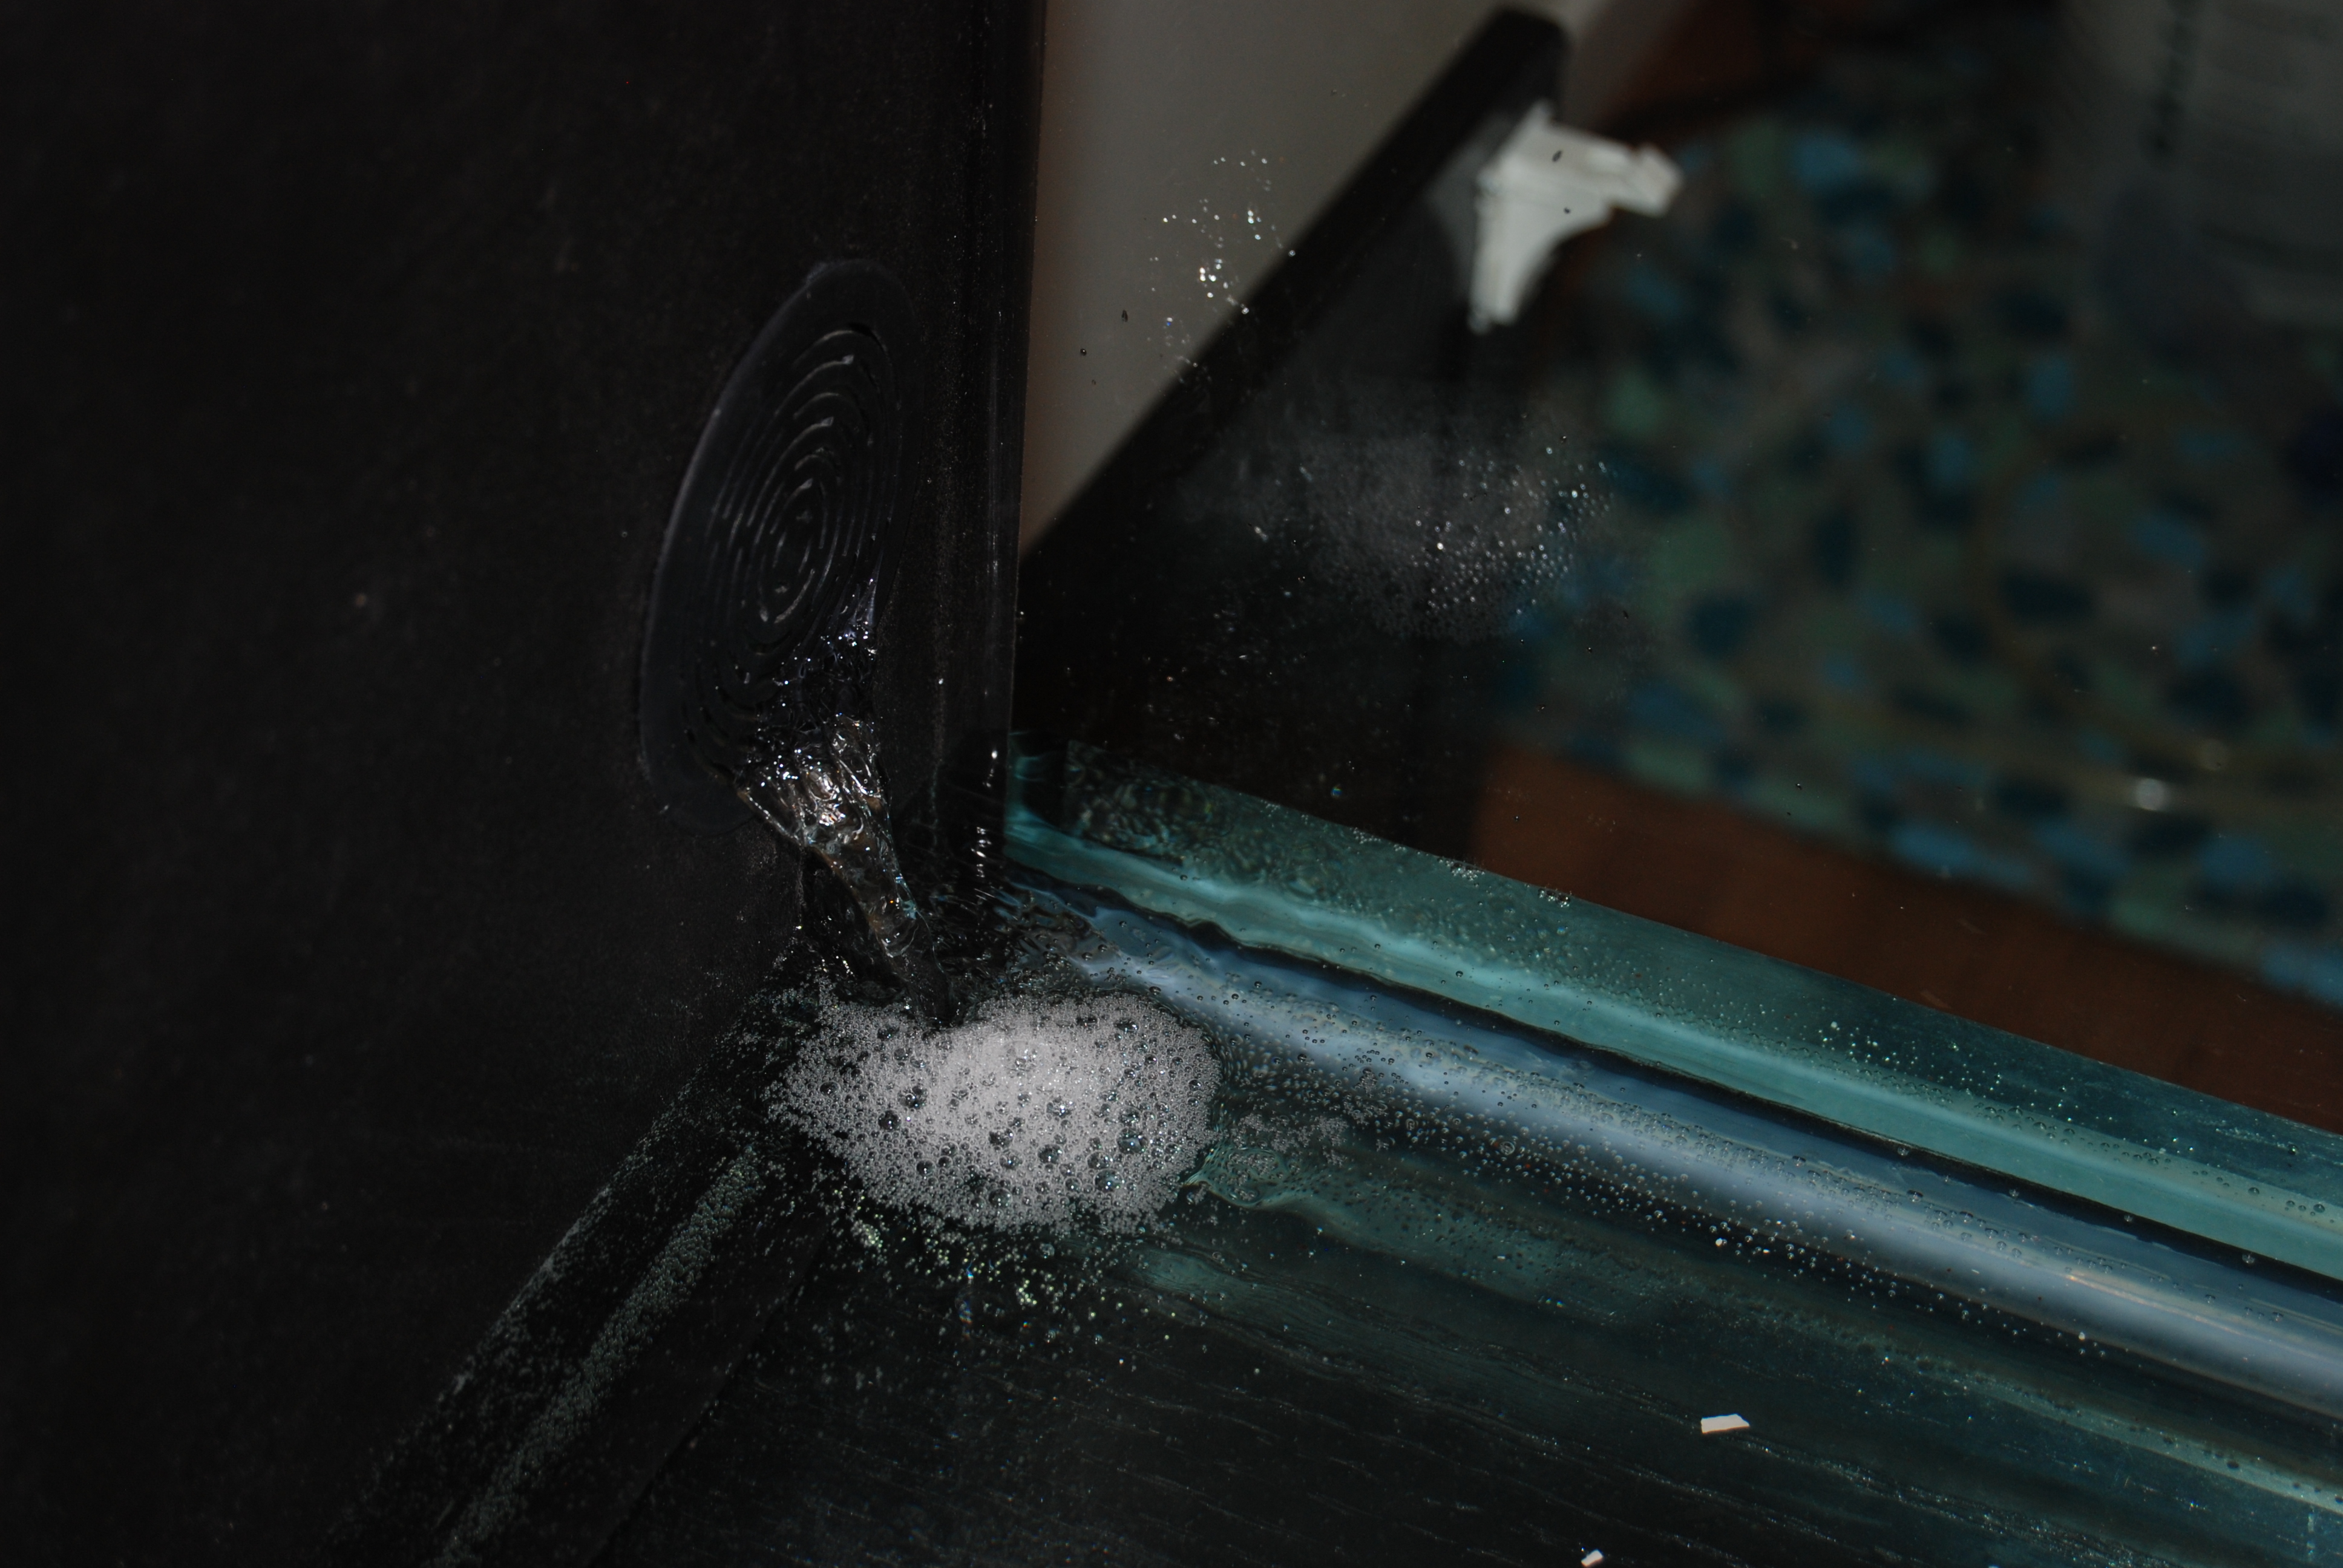
With the kiddo in bed, we finally started filling the tank, one system at a time. It’s a vast quantity of water, and the seams on all of the pipes should be good but have never been tested. On the whole, our pipes seem great and the plexiglass-to-pipe joins seem leaky (something I remember from building our sump). It’s not a huge problem (easy to patch with a bit of silicone, which we did) but did make us take our time. Here’s Kevin, with the garage portion of the systems we were turning on (aka, pre-protein skimmer). A fair bit insouciant, but both of us were nervous.

On the whole, it went really well. There were two leaking joints (small, in the scheme of this system) which were quickly patched and then monitored. There’s a removable brace in the stand that we forgot to reinsert and was a pain to get back in once the tank was full. Ooops. Some water draining there so that we could relieve the weight enough to get it in place. The return loop pump was too strong. Luckily, we need two of the pumps we had, so Kevin ordered the same brand but one that has a half power/full power option. Problem mitigated. The last issue, which is probably going to require third party assistance, is that the floors are showing a fair amount of movement. Kevin’s take on it are that there are two major issues at play: weight-bearing (which he and Shawn fixed last year) and rigidity (which we will hire someone to fix by creating cement slabs/donuts in the crawl space, affixing metal stakes, and then using those to support the floor. Sounds good to me!
Here’s a confusing shot of filling the refugium underneath the tank.

It’s hard to photograph a clear container with that many compartments, especially once you add water volumes into the mix. But the back panel fills first, the far right compartment is next, then the front panel, then the far left front before it goes back to the garage.
Protected: Prepping the tank
Attaching the return loop
Instead of using lots of blowers in this tank, (we have 5 or so in our existing tank) we’re relying on the standard water flow through the refugium and filters plus a single powerful blower mounted in the back corner. To augment this, we’ll also have a closed loop – water gets pulled out of the main tank to a pump in the garage that blasts it back into the main tank through a pipe that runs around the top edge of the tank. Kevin assembled it earlier today and was holding it on with clamps. The original plan was to epoxy it directly to the tank, but given that we may need to replace it at some point (if it’s too loud, not enough flow, etc) a temporary solution seemed better.

In our current tank, we drilled into the plastic around the top and used zip ties to attach the return loop. However, this tank doesn’t have the same lip, so that solution won’t work, and the zip ties are also sharp where you cut them . Lots of scratches. Instead, I suggested yarn for the meantime. I made a dozen or so little yarn loops and put them in place, and then Kevin went around with wooden skewers and glue and secured them in place.

Not bad.

Special delivery
Kevin with the (maybe) last two pieces of fishtank plumbing, which arrived a day late but still before the end of his vacation.
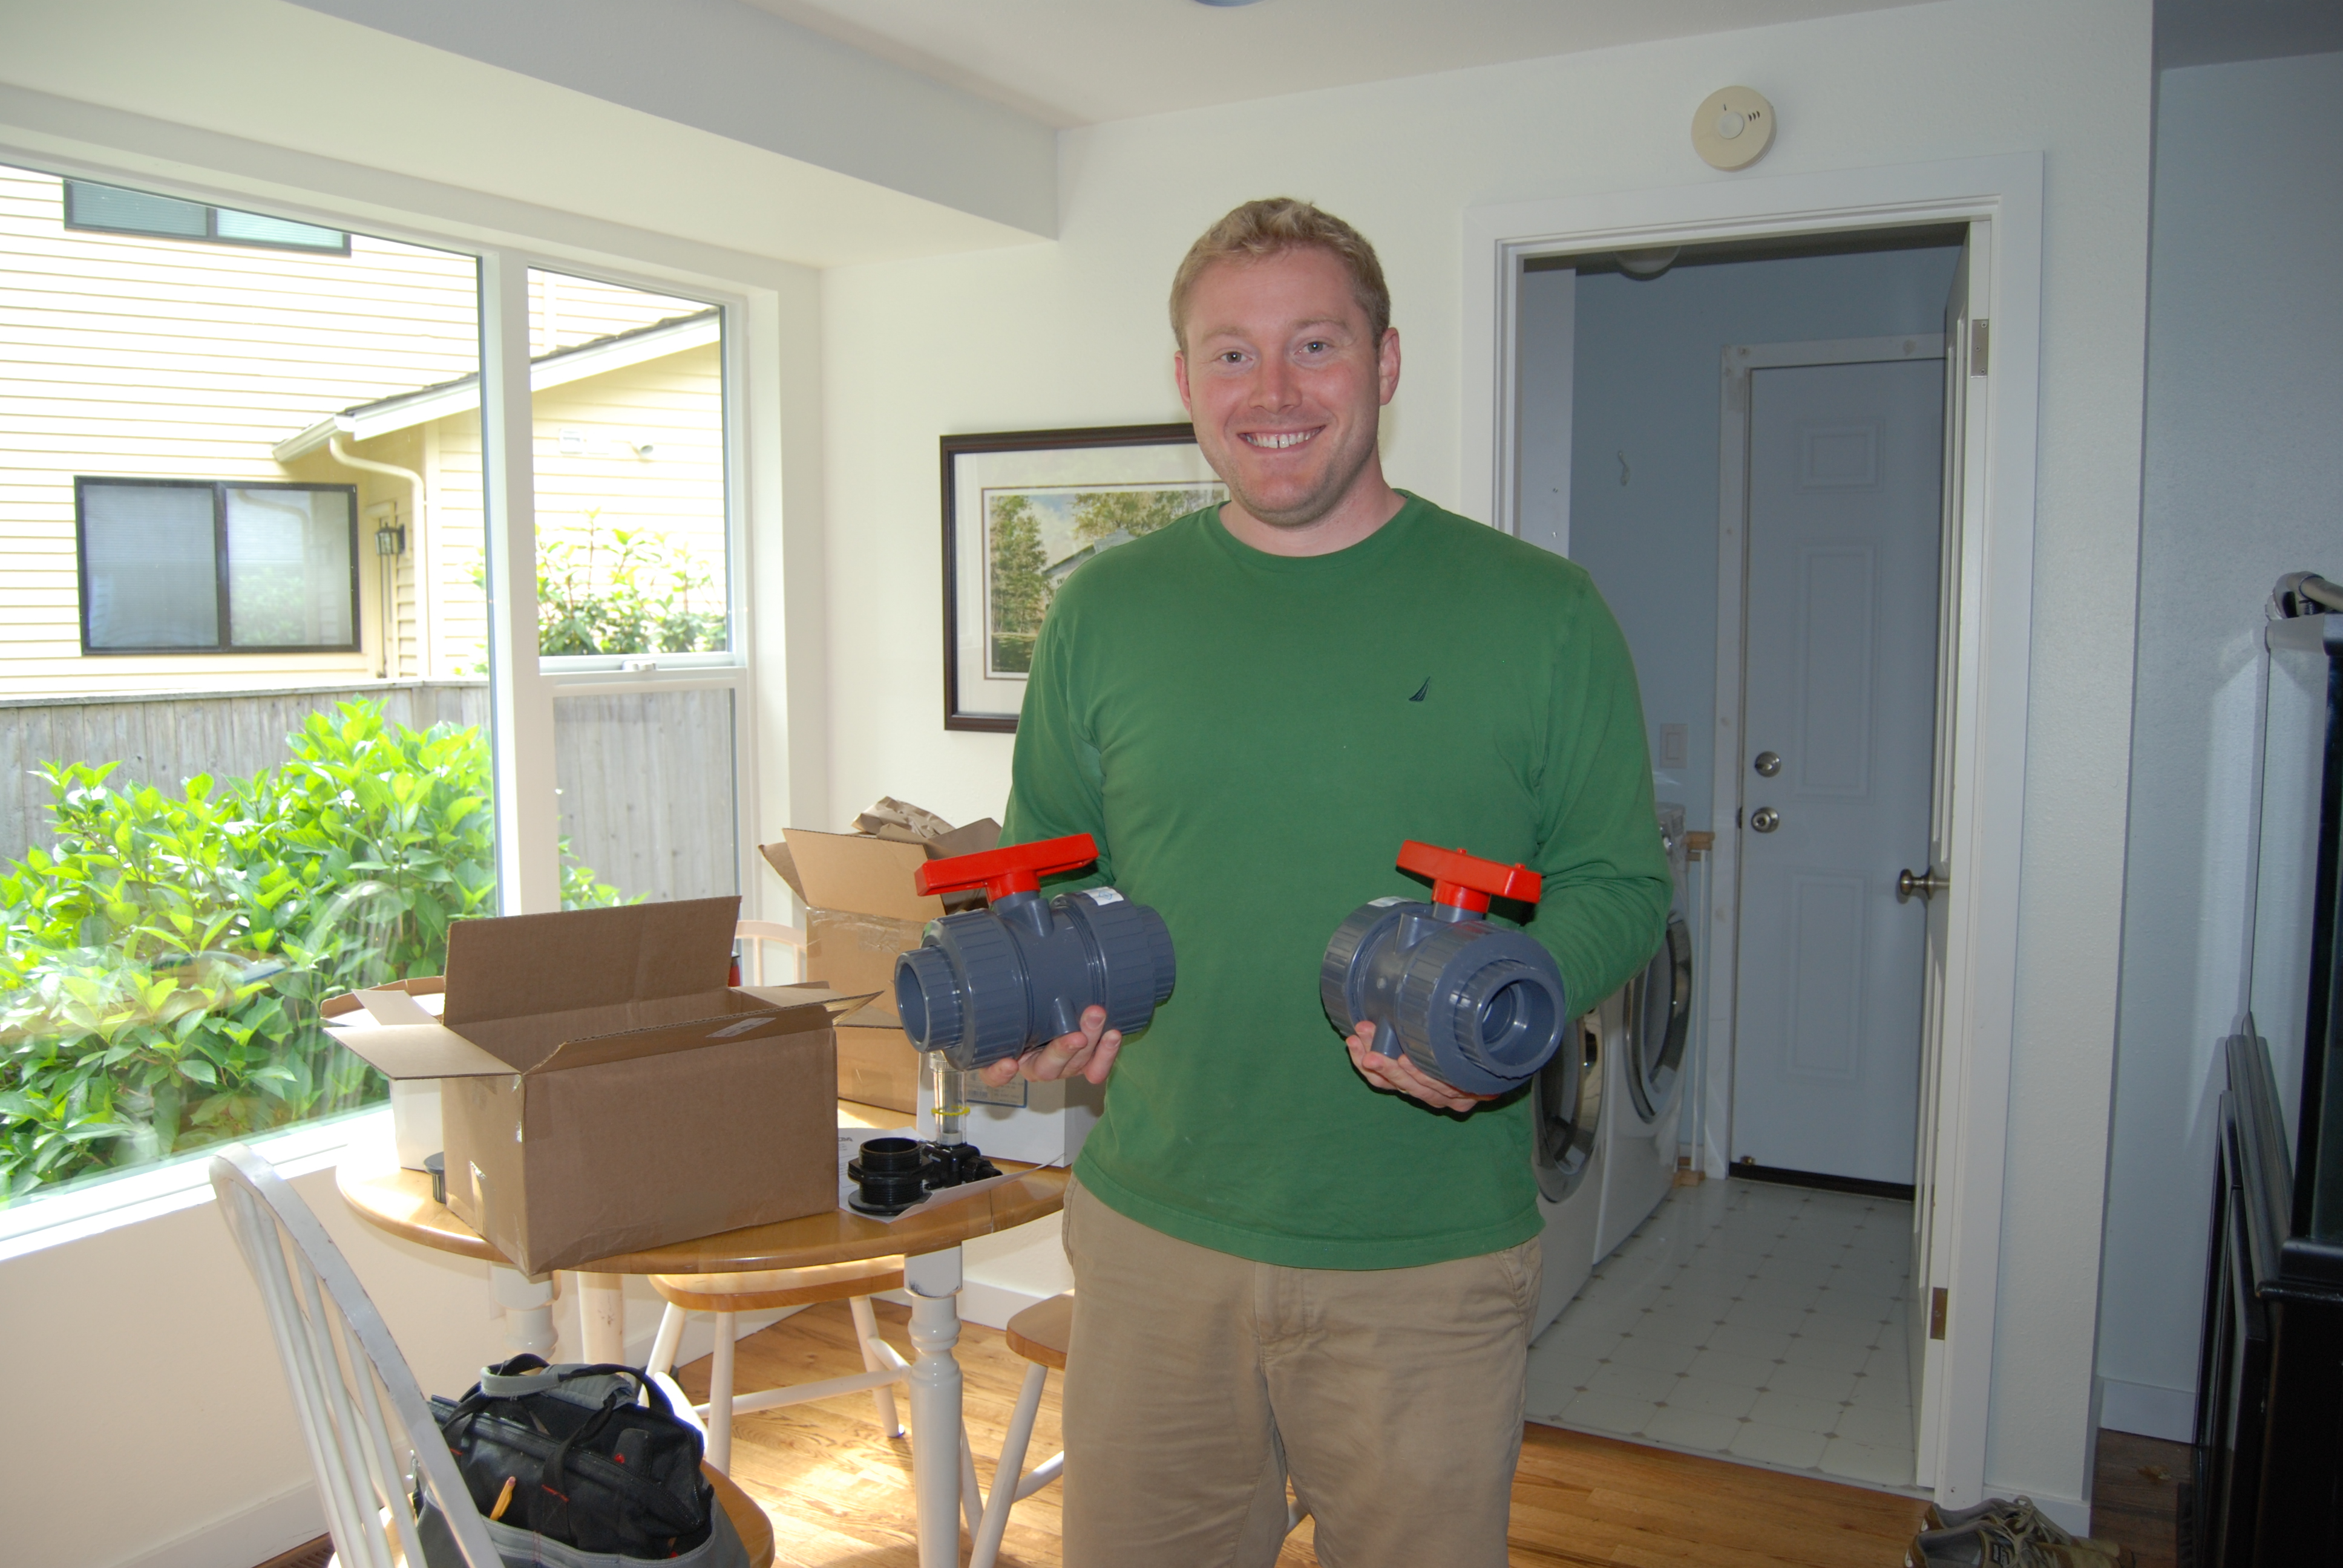
Not small things, are they?
Return loop
Kevin has the return loop (which will go along the top lip of the aquarium to add extra water flow) all assembled.

He spray painted the top edge black to make it less visible – it looks great! The paint is reef safe. We’ll either leave each of the outlets open or attach directional pieces to them to direct the water flow within the tank. The goal is a strong counter-clockwise current.
